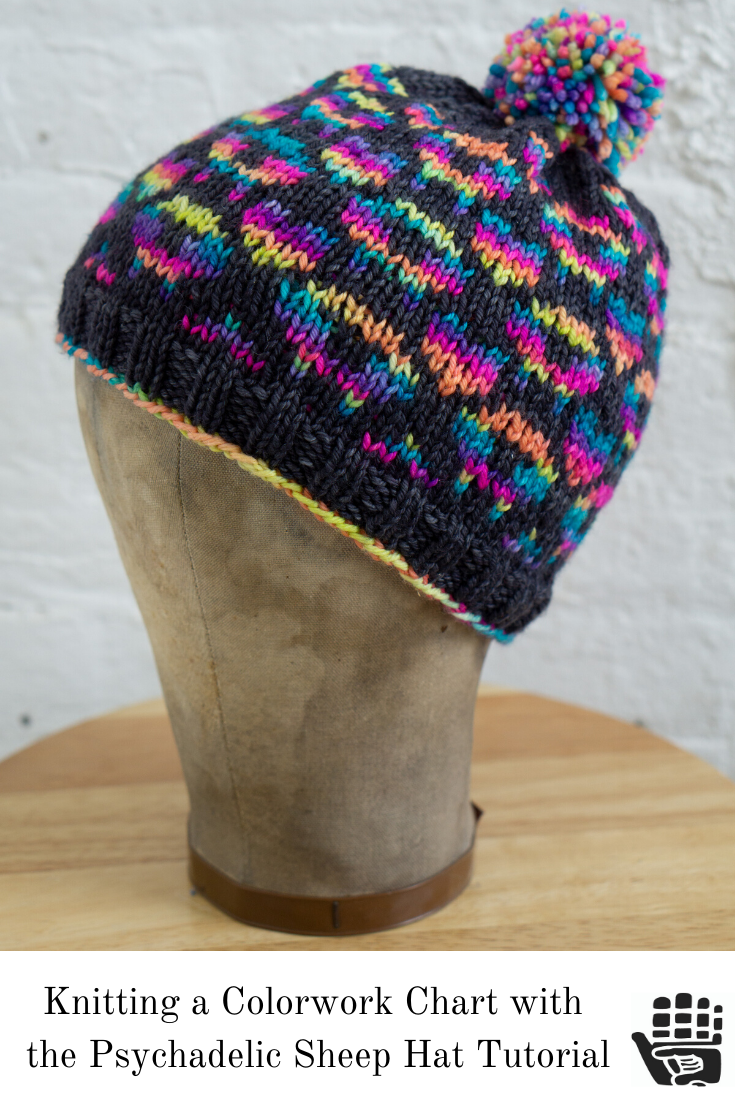
Knitting a Colorwork Chart with the Psychedelic Sheep Hat
Share
In knitting patterns, charts are used to visually represent the stitches for colorwork or lace patterning. In an earlier blog post we spotlighted the Onda Cowl for lace knitting from a chart. Today’s tutorial will guide you through knitting charted colorwork in the Psychedelic Sheep Hat & Cowl.
READING THE CHART
This hat pattern includes three different charts. Just as when we discussed charted lace knitting, the color work chart is a road map for your knitting. It includes the number of stitches in each color repeat, which stitches to knit in which color, and where to place decreases as you reach the crown of the hat.


Here is Hat Chart 1 and the legend. The light grey squares represent the stitches to knit in the main color and the dark grey squares represent the stitches to knit in the contrast color. This chart does not have any decreases or “no stitches”, placeholders to keep the chart aligned properly. Since the hat is knit in the round, every stitch represented is a knit stitch, and you would work all rounds from right to left as follows:
- Round 1: [knit 3 in MC, knit 2 in CC, knit 1 in MC, knit 2 in CC, knit 3 in MC]*, repeat around
- Round 2: [knit 1 in MC, knit 1 in CC, knit 2 in MC, knit 3 in CC, knit 2 in MC, knit 1 in CC, knit 1 in MC]*, repeat around
- Round 3: [knit 1 in MC, knit 1 in CC, knit 3 in MC, knit 1 in CC, knit 3 in MC, knit 1 in CC, knit 1 in MC]* repeat around

Stitch markers are not required, though you may find it useful to place them after each repeat or two of the chart. That way, if you reach the marker before or after the end of the chart repeat, you know you’ve made an error within the last few stitches. We’ve marked the beginning of our round with the blue marker and a purple marker sets off each pattern repeat. Our sample photographed here uses Alegria Grande in Black for the main color and Locura Fluo for the contrast color.

Here’s a look at one chart repeat after completing Round 3. We are ready to move to Hat Chart 2 for the main body of the hat which includes the motifs of sheep and hearts that repeat.

Once you have a few rounds completed and the pattern emerges, keeping track of your place in the pattern is easy with a quick glance.

If we had put down our knitting here and come back to it later, we can compare the knitting to the chart to confirm which row we are on. The stitches in between the markers follow the pattern of three MC stitches, five CC stitches, and three MC stitches, corresponding to Round 8 of the chart. The next round to work is Round 9.
As we mentioned in our first chart knitting tutorial, you may find it helpful to use a marker, post-it notes, or highlighter tape to mark your working row. Coloring the chart with colors similar to the colors you have chosen can make it easier to keep track of which color to use and when, especially before the pattern is established.

This pattern does not have large stretches in between the color changes though it is a good practice to be mindful of your floats. A float is the term for the length of yarn that is carried across the back of the knitting. Floats can pose a bit of a Goldilocks situation here - if they are too tight, puckering in the fabric can result, and if they are too loose, the stitches are uneven and can catch on things. To get them just right is a combination of practice and taking the time to spread out the stitches just worked on the right needle each time you switch colors. Also, aim to be consistent to draw the working yarn up in the same manner each time.

We hope this tutorial builds your confidence in working with charts for colorwork knitting! Reading charts for lace, colorwork, textured stitches, and eyelets is a versatile skill, and we have many patterns for your practice! Remember, just take it one stitch at a time!
Don’t forget to pin this post!
