
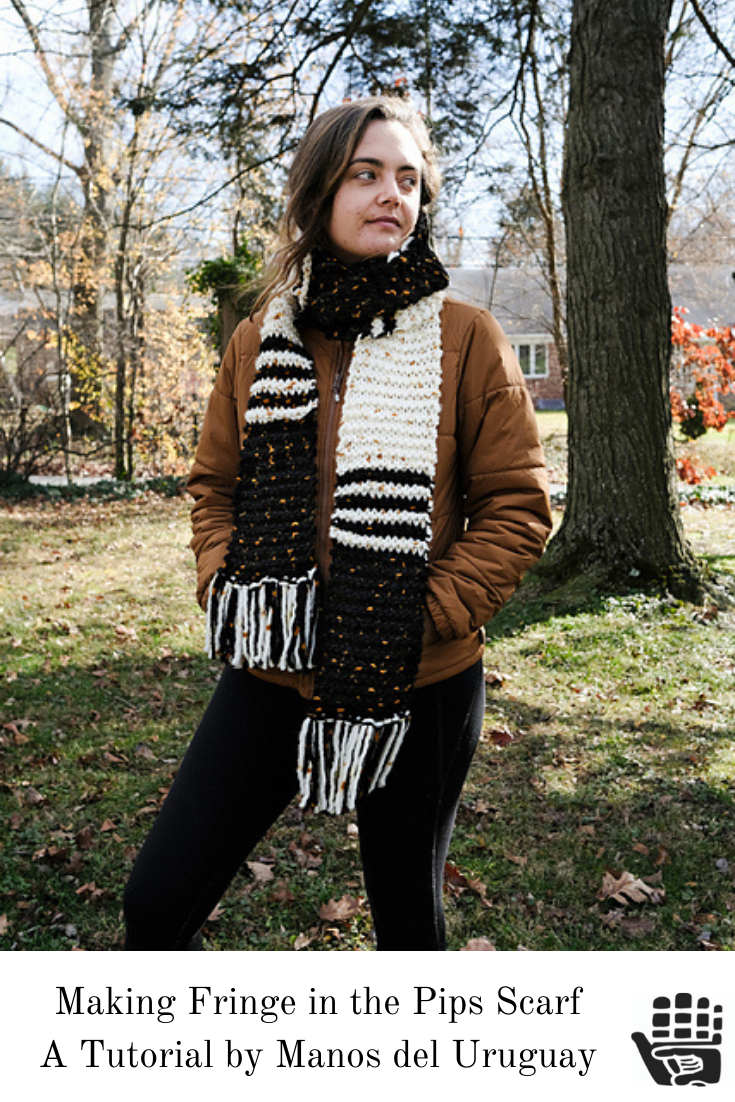
Making Fringe featuring the Pips Scarf in Franca
Adding fringe to each end of a scarf is a fun finishing touch. While fringe-making may be more of an art than a science, and the crafter can adjust the color, number, and length of the strands to their heart's content, you should expect the pattern to provide guidance! Today we’re going to share a few tips and tricks for making and adding fringe using the Pips Scarf, a free pattern from Fairmount Fibers, as an example.

The Pips Scarf celebrates the instant gratification of a quick project, perfect for this time of the year. Two contrasting colors of Franca, one skein each, are needed. The pattern photo above shows Gold Drop and Gold Nugget. Photos for our tutorial today feature Batik and Petroleo.

The fringe is added after your scarf is knit. You’ll need your yarns, a good pair of scissors or snips, a large crochet hook, and a piece of cardboard that is 15” long. Tip: A USPS Priority Mail mailing box is the right size!

The Pips Scarf needs 24 pieces of fringe 15” long of each color. Start by winding your yarn around your piece of cardboard. Be mindful to not pile it in one area, but move across the space to create a uniform layer. We wrapped each color around the cardboard 12 times - 12 pieces of yarn on the front plus 12 pieces of yarn on the back adds up to 24 pieces.

Cut your yarn along the both top and bottom edges of your cardboard to make the lengths of fringe.
X F X F X F X F X F X F X F X F X F X F X F X F X
Now it’s time to place the fringe! Our scarf is 13 stitches wide (represented by Xs above); 1 fringe piece will be placed in between each stitch on each end, for a total of 12 fringe pieces each end (represented by Fs above).

Take one piece of each of the cut yarns and fold it in half lengthwise.

Working from the backside, insert your crochet hook through the material at the edge. You want to be working close to the edge of your material, but be careful that you have at least two stitches or strands of yarn under your hook to anchor the fringe.
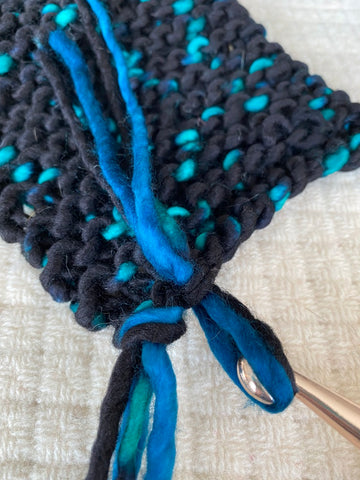
Grab the center point of your folded yarns with the crochet hook and pull this loop through the scarf to the backside. Try to keep the cut ends as even as possible, but we will be doing a little trimming after all the pieces are added to neaten our work.
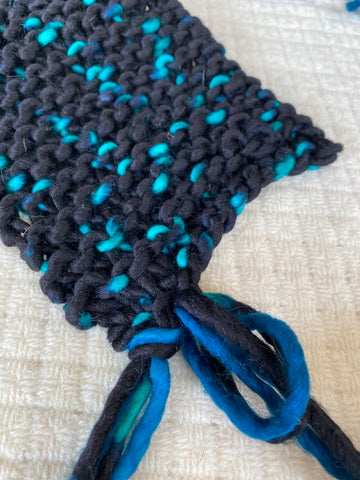
Pull the ends of the yarns through the loop and tighten to make it snug and secure. Continue to attach your loops across the edge of the scarf.

Here’s the scarf with all the fringe added. Now we will do a little trimming to even up the ends.

A clear acrylic ruler can hold your strands in place and a rotary cutter on a cutting mat makes quick work, but this can also be done with a ruler and scissors. In this project, our fringe ended up being approximately 5” long.


Take a moment to fluff and straighten your fringe with your fingers. You may notice a strand or two that still needs a little trim; that is an easy fix with your scissors. Admire your work and enjoy a fabulous new accessory!

We’re seeing fringe being reported in the fashion realm as on trend for 2021-2022! Fringe is a design element on several patterns including the Hilltop Poncho (top),the Trellis Scarf, Fringed Violet Scarf, Sencilla, and Fiesta Scarf (bottom left to right). What are your plans for fringe and Manos del Uruguay yarns? Leave us a comment in Ravelry, on Facebook, or tag us in your project photos on Instagram.
Don’t forget to pin this post!
